Glare effect in SwiftUI
| Created | |
|---|---|
| Updated | |
| Tags | SwiftSwiftUI |
In this blogpost we’re going to create this fancy glare effect in SwiftUI:

The effect kinda shows the glancing texture of View’s surface.
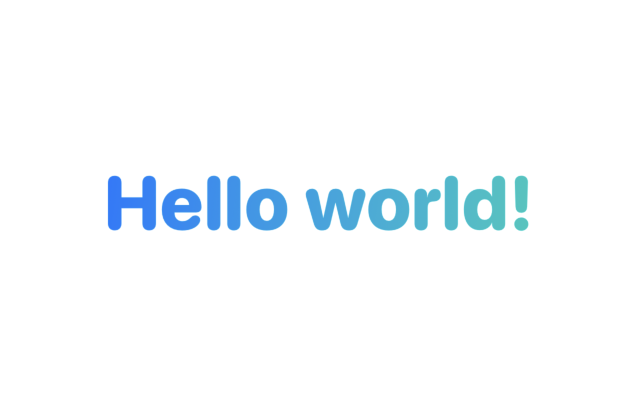
Essentially the effect consists of a main View and a mask blended together. Let’s add a text and style it first:
let glareView = Text("Hello world!")
    .font(.system(size: 50, weight: .heavy, design: .rounded))
    .foregroundStyle(LinearGradient(
        colors: [.blue, .mint],
        startPoint: .topLeading,
        endPoint: .bottomTrailing
    ))
Here’s how it looks like:
Now, the glare “line” is this very view masked by an animated Rectangle. Let’s implement that mask:
glareView
    .mask(
        Rectangle()
            .frame(width: 50, height: 50)
    )
Now we let’s animate the glare “line” to look like the source of light is being moving. We’re adding a @State boolean property to start the animation in .onAppear and repeat it forever:
@State private var shouldAnimate = false

var body: some View {
    let glareView = ...

    glareView
        .mask(
            Rectangle()
                .frame(width: 15, height: 50)
                .offset(x: shouldAnimate ? 200 : -200)
        )
        .onAppear {
            withAnimation(
                .easeInOut
                    .speed(0.05)
                    .repeatForever(autoreverses: false)
            ) {
                shouldAnimate = true
            }
        }
}
Look how beautiful it is! And we’re almost done. Last thing it to enable the actual “surface”. Let's overlay the whole thing with the original view. Just overlaying will do nothing cause the view is opaque, we got to apply a color blending mode:
let glareView = ...

glareView
    .mask(...)
    .onAppear { ... }
    .overlay(
        glareView
            .blendMode(.multiply)
    )
And ta-da! Just like this we got a nice and shiny glare effect:
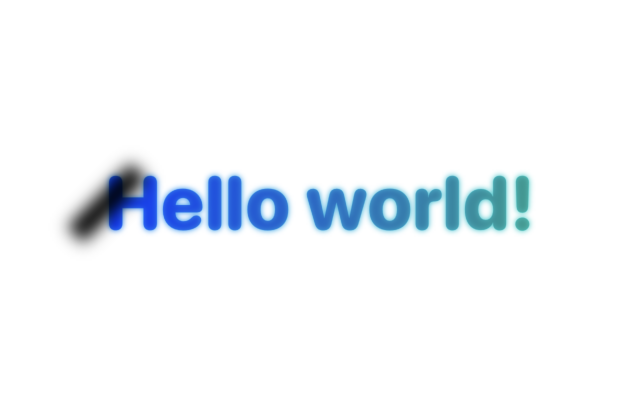
That was the basics. Now it’s time to style the thing. Let’s add 2 blur effects to the Rectangle. One to smoothen its borders to make it look natural and another one to create a halo effect:
let glareView = ...

glareView
    .mask(
        Rectangle()
            .frame(width: 15, height: 50)
            .offset(x: shouldAnimate ? 200 : -200)
            .blur(radius: 5) // <- Here to smooth borders
    )
    .blur(radius: 2) // <- Here for the halo
    .onAppear { ... }
    .overlay(...)
And that’s it! We’re done!
Well, almost… For those of you who want to go extra mile and make it reusable I prepared something interesting so keep reading :)
Many developers and beginners wonder if they should know math to be successful. Well, I’m not gonna answer this question here but rather will show you how math can be helpful to build beautiful things!
Remember how in the original demo up there in the beginning of the post the glare was tilted which made it look more natural? Well it appears that this requires some basic geometry to make it work. You cannot just rotate the Rectangle and hope it will work (I surely did hope). Remember that hardcoded frame and offset we gave our Rectangle – .frame(width: 15, height: 50) and .offset(x: shouldAnimate ? 200 : -200)? This works fine for “Hello world!” with a font of size 50 but we aren’t always using exactly this view, are you? At some point it will break for one of two reasons: either height (read “frame”) won’t be sufficient or the offset (read ”offset”).
But let’s take it one step at a time. Let’s start with the most obvious thing – height. It will vary for different Views so we need to make it dynamic. We’re going to use a brilliant extension found here. Based on the size we read we will update the frame of the Rectangle as well as the offset (knowing size we now know the width and the offset is one half of it):
@State private var contentSize = CGSize.zero
...

var body: some View {
    let glareView = ...

    let offset = contentSize.width / 2

    glareView
        .readSize { contentSize = $0 }
        .mask(
            Rectangle()
                .frame(width: 15, height: contentSize.height)
                .offset(x: shouldAnimate ? offset : -offset)
                .blur(...)
        )
        .blur(...)
        .onAppear { ... }
        .overlay(...)
}
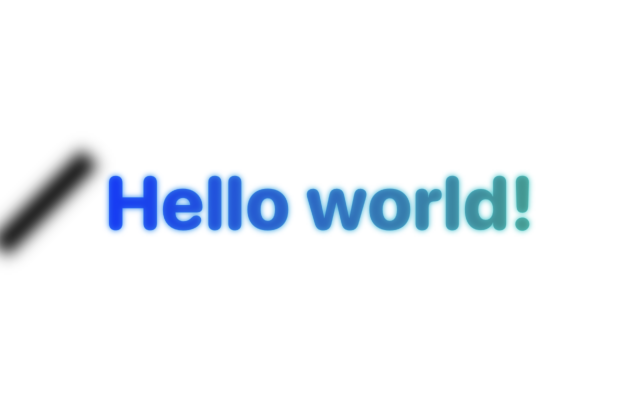
Now let’s rotate our Rectangle. I’ll stop masking the view so you see both the Rectangle and our View at the same time:
Because rotation has an anchor in the middle of the Rectangle now it’s obscuring the leading part of the View. Towards the end of the animation it will obscure the trailing part of the View. We need to offset it just a bit more. But how much? Let’s dive in some math now.
Because we tilt the Rectangle we increase its View’s bounds. Let Rectangle half-height be y, we set it by ourselves so this value is known to us – it’s equal to the height of the main View. Tilting Rectangle means we can imagine a triangle it forms with the horizontal line. The rotation degree is 45º means that the triangle is equilateral right triangle (triangles’ angles sum is 180º, if one angle is 45º and we know the triangle is right, so the other angle is 90º we see that the third angle is 180º - 90º - 45º = 45º). In this right triangle the hypotenuse is y – half-height of the Rectangles height. We can easily calculate x. This value will give us the distance from the center of Rectangle to its bounds horizontal border and this will be exactly the value we need to add to the offset to make Rectangle not obscure the View.

Here’s how we find x using Pythagoras equation:
Now let’s update our offset and see the result:
let offset = contentSize.width / 2 + sqrt(pow(contentSize.height, 2) / 2)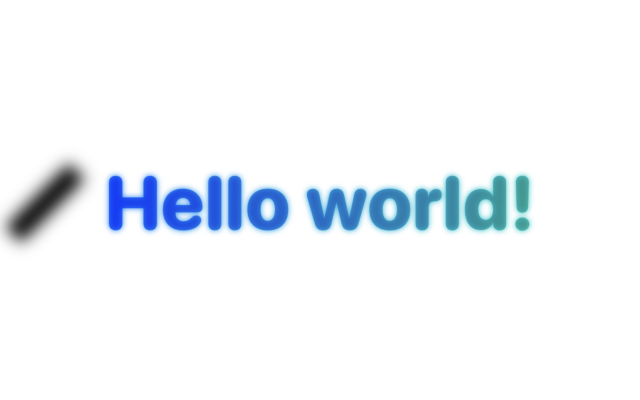
Brilliant, isn’t it? Exactly what we need!
There’s but one last thing. While tilting the Rectangle and extending its horizontal bounds we are actually shrinking its vertical bounds so the height of the Rectangle is now smaller than the View’s height. Another Pythagoras equation to the rescue!
We’re using the very same picture and equation but this time we know x – it’s our View’s height and we want to figure y out – the height the Rectangle should have so that its vertical bounds align with View’s height while being tilted:
The change is minimal:
glareView
    .readSize { ... }
    .mask(
        Rectangle()
            .frame(width: 15, height: contentSize.height * sqrt(2))
            .offset(...)
            .blur(...)
    )
    .blur(...)
    .onAppear { ... }
    .overlay(...)
Now it again fully covers the view:
Don’t forget to make the Rectangle a mask again if you, like me, made it an overlay before. And we’re good to go!
Accessibility bonus: you probably want your text to scale with accessibility dynamic type, right? Then make sure to setup @ScaledMetric like this:
@ScaledMetric(relativeTo: .largeTitle) var size: CGFloat = 50
...

var body: some View {
    ...
        .font(.system(size: size, weight: .heavy, design: .rounded))
}
Thanks for reading, I hope you enjoyed it! If you have any suggestions, feel free to reach me here: ☎️Contact